How to Create a New Workspace
We will see how to organize recruitment activities by team, department, or project with complete data separation.
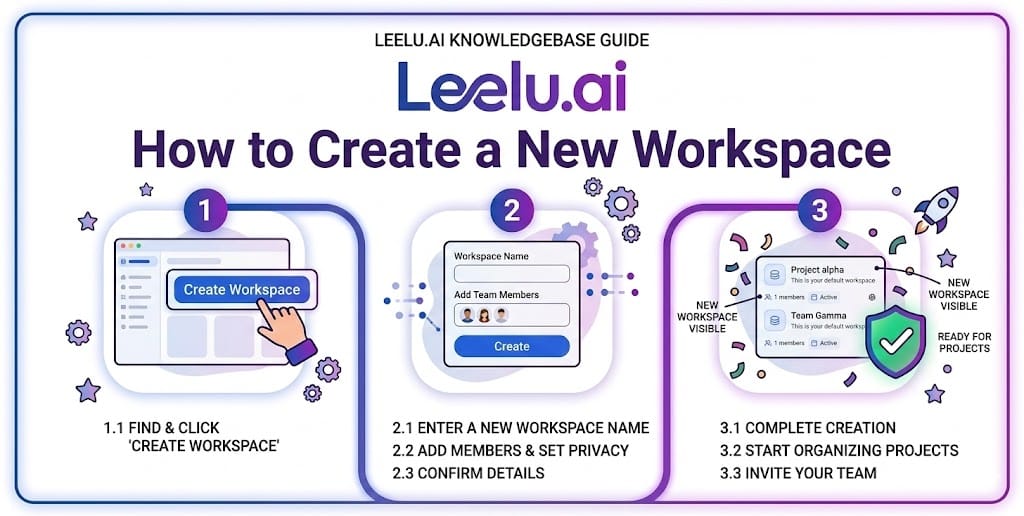
Creating additional workspaces allows you to organize recruitment activities by team, department, or project with complete data separation.
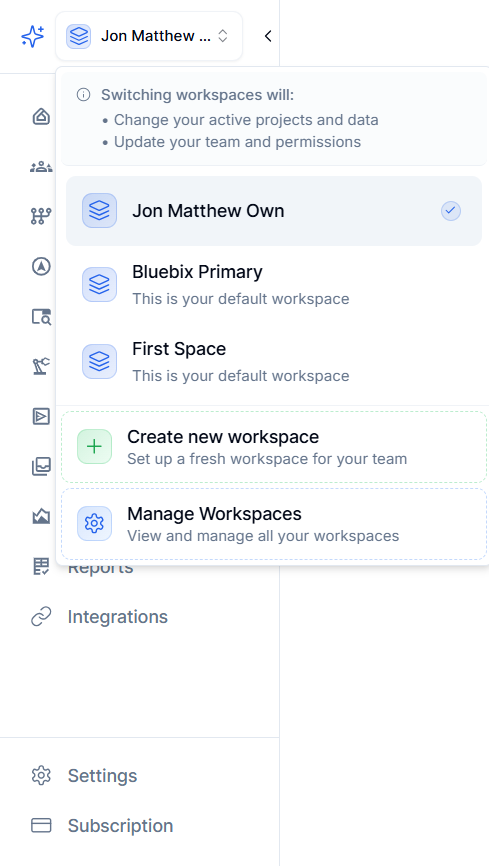
Workspace Dropdown Menu
Accessing the Workspace Creator
You can create new workspaces from the workspace switcher in the top-left corner of any page.
Step-by-Step Instructions
1. Click the workspace name in the top-left corner of the screen
2. A dropdown menu appears showing all your workspaces
3. Click Create new workspace at the bottom of the list
4. You'll be redirected to the workspace creation page
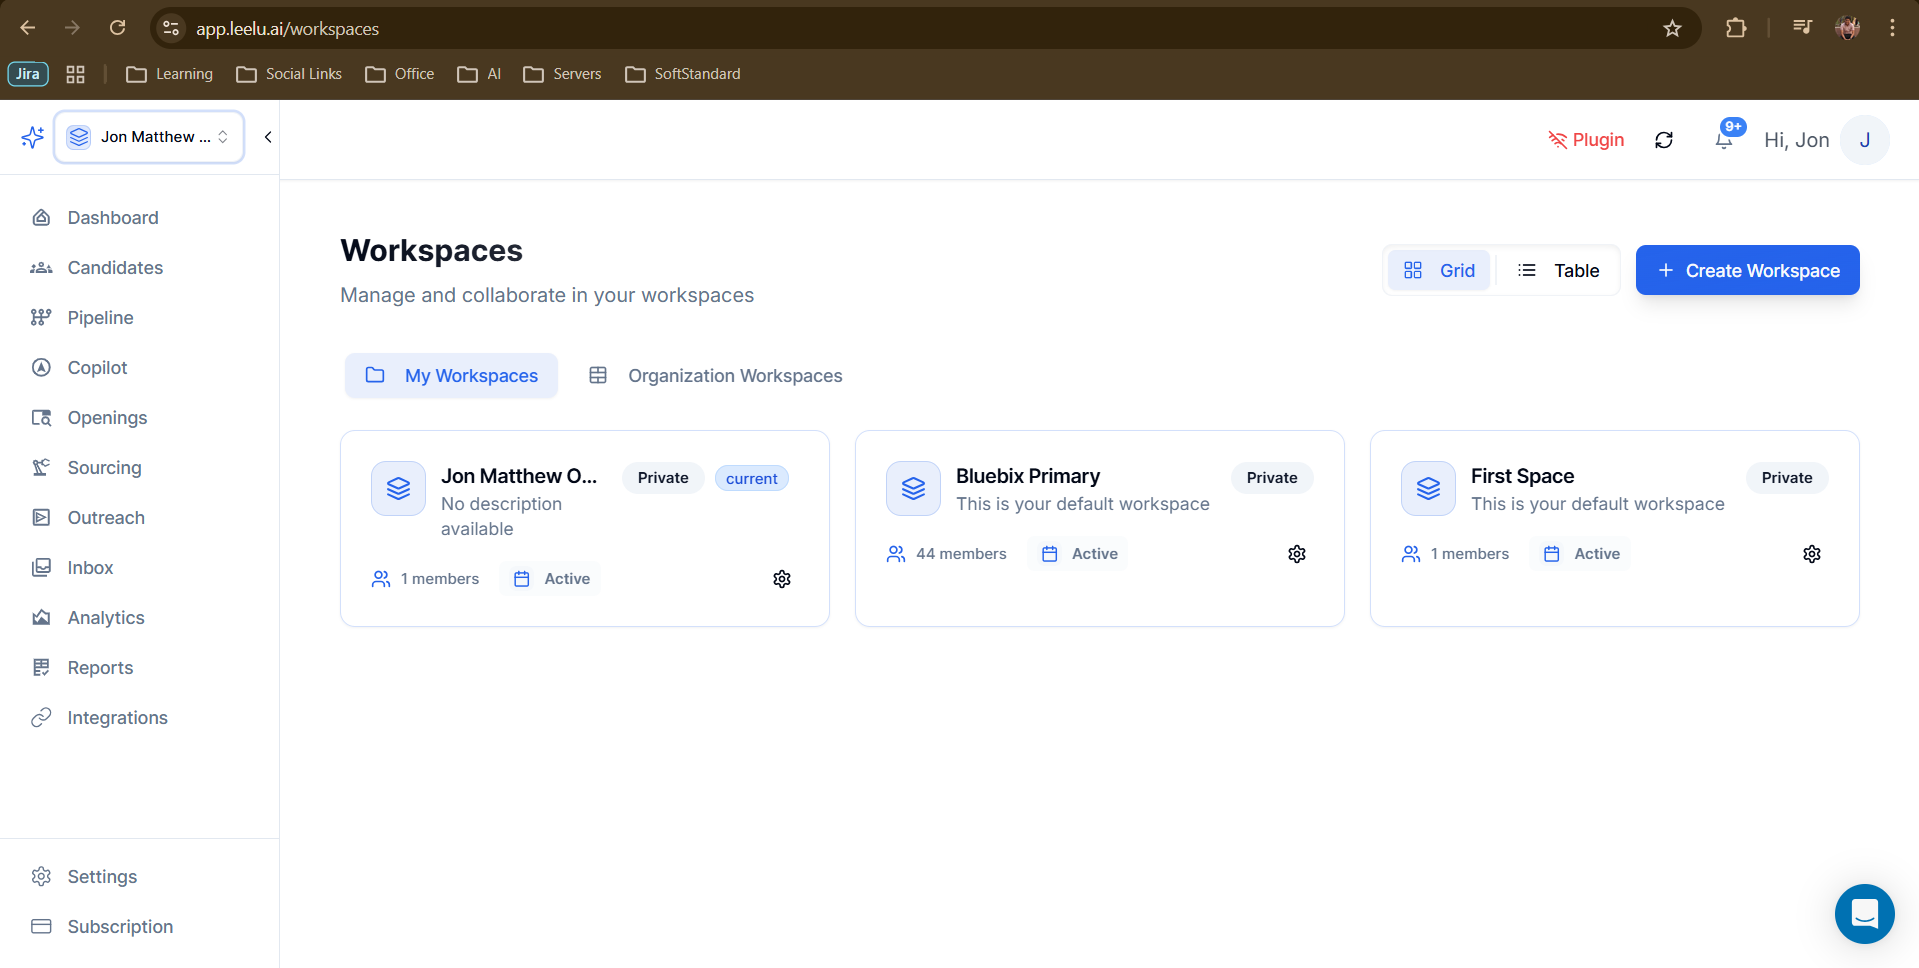
Workspace Management Page
Alternative Method: Manage Workspaces Page
You can also create workspaces from the dedicated management page:
5. Click the workspace dropdown in the top-left
6. Select Manage Workspaces from the menu
7. Click the + Create Workspace button in the top-right
Configuring Your New Workspace
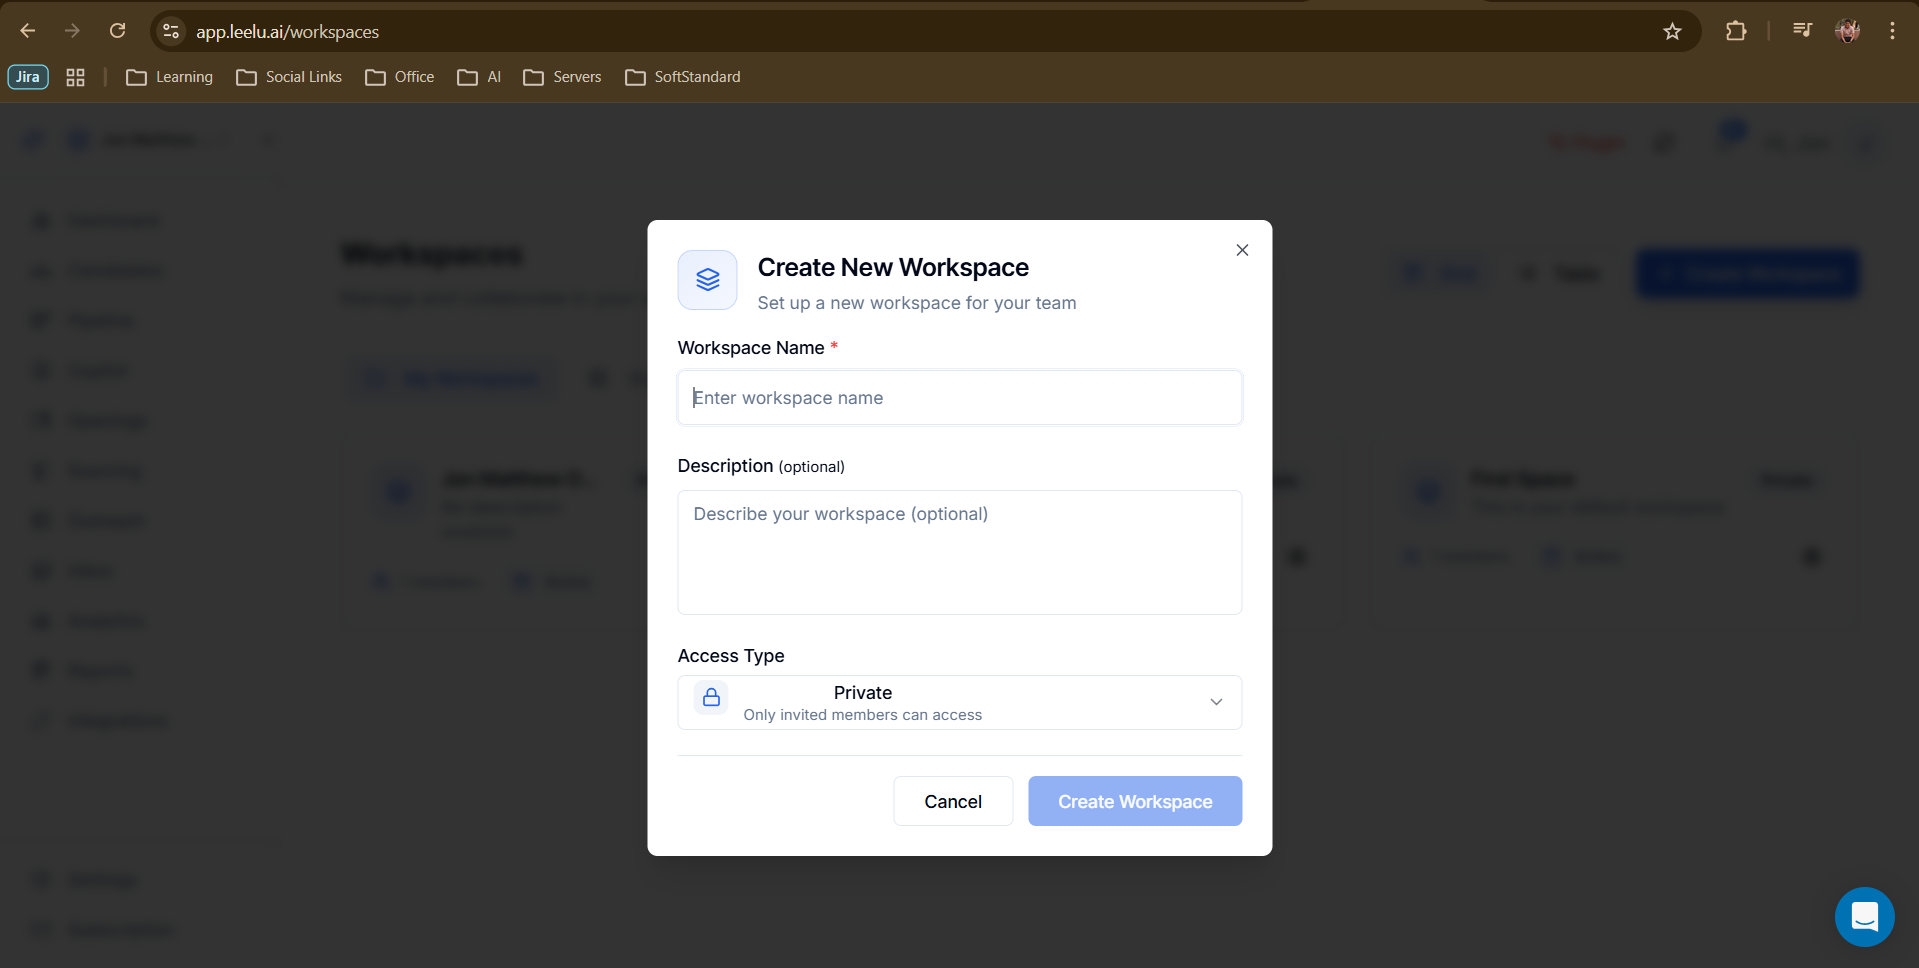
Create Workspace Dialog
When creating a workspace, you'll configure three key settings:
Workspace Name (Required)
Choose a clear, descriptive name that identifies the workspace's purpose. Examples:
• Engineering Team
• ACME Corp Client
• Q1 2026 Hiring
• North America Operations
Description (Optional)
Add a brief description to help team members understand the workspace's purpose. You can include emojis using the emoji picker for visual distinction.
Access Type
Currently, workspaces default to Private access:
• Private: Only invited team members can access this workspace
• Public: Anyone in the organization can join
• You control who can view and edit workspace content
Saving Your Workspace
After configuring the settings:
• Review your workspace name and description
• Click Save Changes or Create Workspace
• Your new workspace is created and ready to use
What Happens Next
After creating a workspace:
• The workspace appears in your workspace switcher dropdown
• You're automatically set as the workspace owner
• The workspace starts empty - ready for you to add job openings and candidates
• You can invite team members to collaborate
Best Practices
• Use consistent naming conventions across workspaces (e.g., 'Department - Location' format)
• Add detailed descriptions to help team members understand workspace purpose
• Create workspaces before starting major hiring initiatives to keep data organized from the start